88-LPC-ish
Life with a 70s computer was much more hardcopy-dominant than it is today. Although full-screen editing was available if you had a CRT terminal, you were still limited to maybe 25 lines of text at a time, and even with a fast serial connection the update time was very noticeable. Also a lot of software still assumed you were using a teletype and would “scroll up” by literally going through the scroll of printer paper accumulating in front of you. So to get the full experience I really needed to hook up a printer to the Altair.
The 1975 MITS Line Printer Controller card (88-LPC) was a standard parallel interface for Centronics style printers like my Microline µ92, but these cards are evidently very rare. I initially thought about reverse-engineering the original from the manual and photographs, but I was too impatient and just wanted to get it working well enough to work with my specific setup. Functionally this meant I could leave out out interrupts (which CP/M doesn’t need) and buffering (which my printer already has internally).
Prototyping
My initial prototype was on this S-100 Buffered Prototyping Board with some breadboards taped to the top. It’s quite ugly but it worked pretty well.
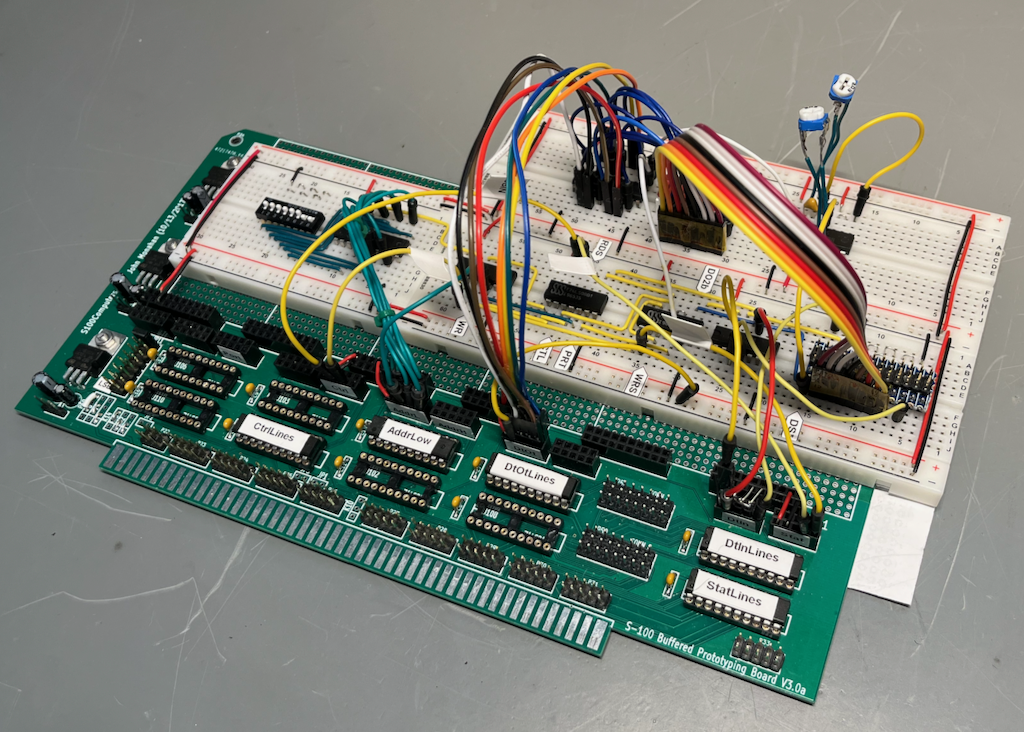
The only tricky bit here was that the write cycle time on the Altair was also the exact minimum strobe length required when sending data to the printer, which proved to be very unreliable. My fix was to latch the data on the output cycle and then start strobing it out to the printer on the following cycle, using an LS123 to set the timing. The OUT instruction takes three cycles so it’s not possible to overrun the latch unless you overclock the CPU.
With this fix my prototype card worked.
Real Card
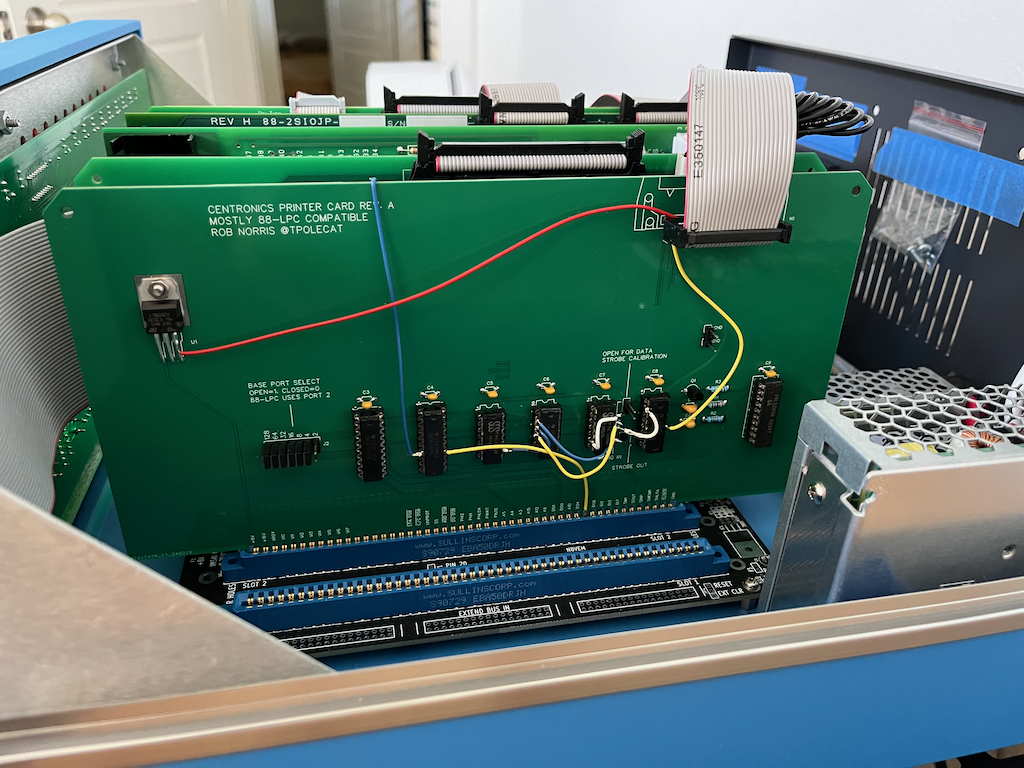
Time to make a real card so I could put the lid back on. I could have used the perfboard section on another protoboard, but I actually didn’t need all the bus buffering so I decided to make my own card, which only needed seven ICs. Unfortunately I managed to miss a bunch of things in my schematic and the board required a lot of bodging. I especially like the blue wire that wraps around to the back of the board.
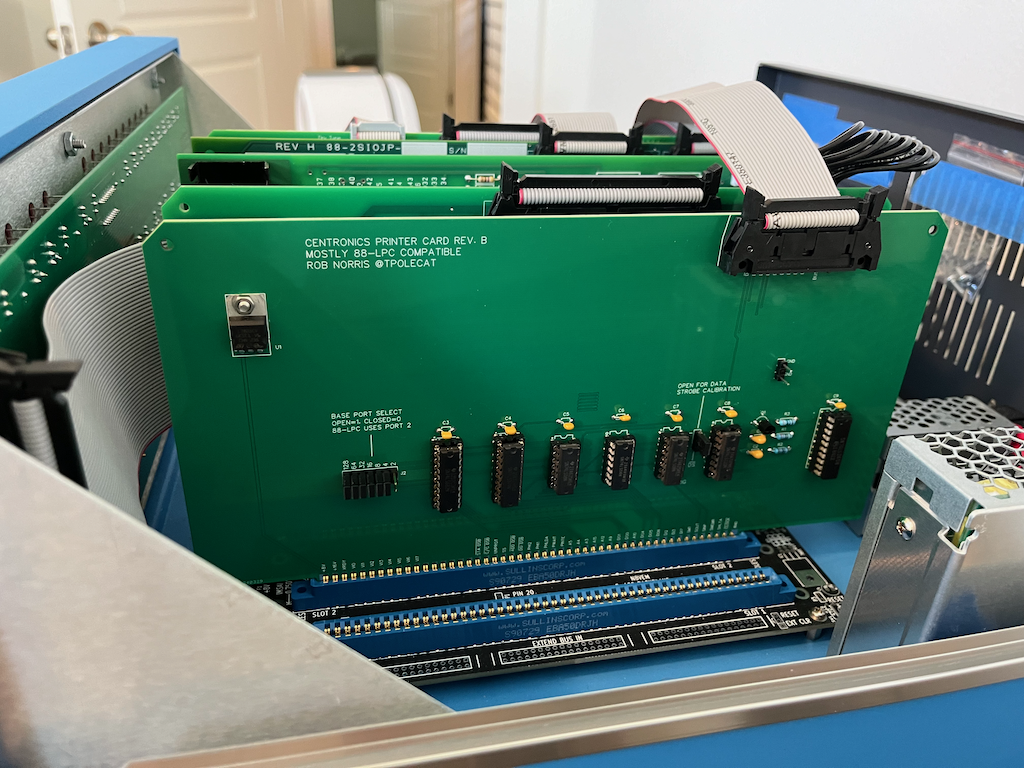
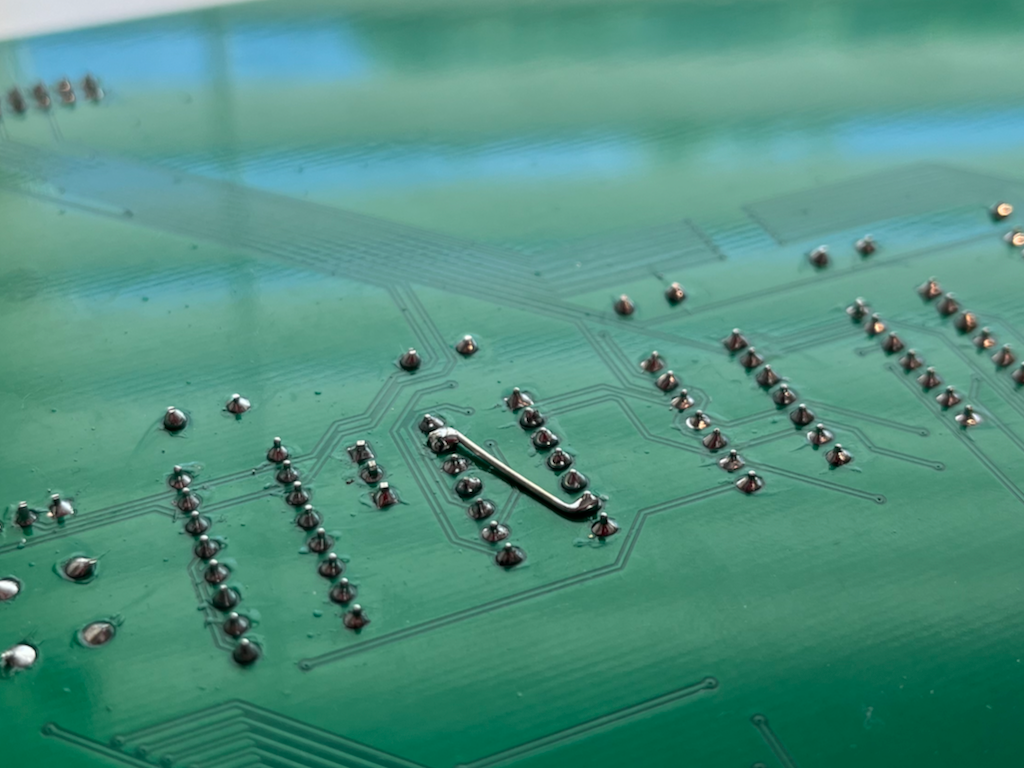
Rev. B was much better, but still required a small bodge on the back. But it works fine and isn’t an embarrasment so I’m calling this one good. I have four extras if anybody wants one.
This was a fun project and it inspired me to make more cards (foreshadowing).