I Fixed the TV
Our Samsung TV started showing a horizontal stripe of shadow a few months ago, then a few weeks ago the entire top half of the screen became very dim, at which point the complaints escalated and I needed to fix it. I suspected the backlight was dying, and I was right. Here’s what I did.
Our TV is a Samsung UN46F6400 and it’s about 15 years old. The procedure here may or may not work with other TVs but I suspect they’re similar.
Setting Up
I figured I would need at least twice as much space as the TV took up because I knew I would be removing the glass. So I put a moving blanket on our dining table (a CuriousMarc tip) and it worked great.
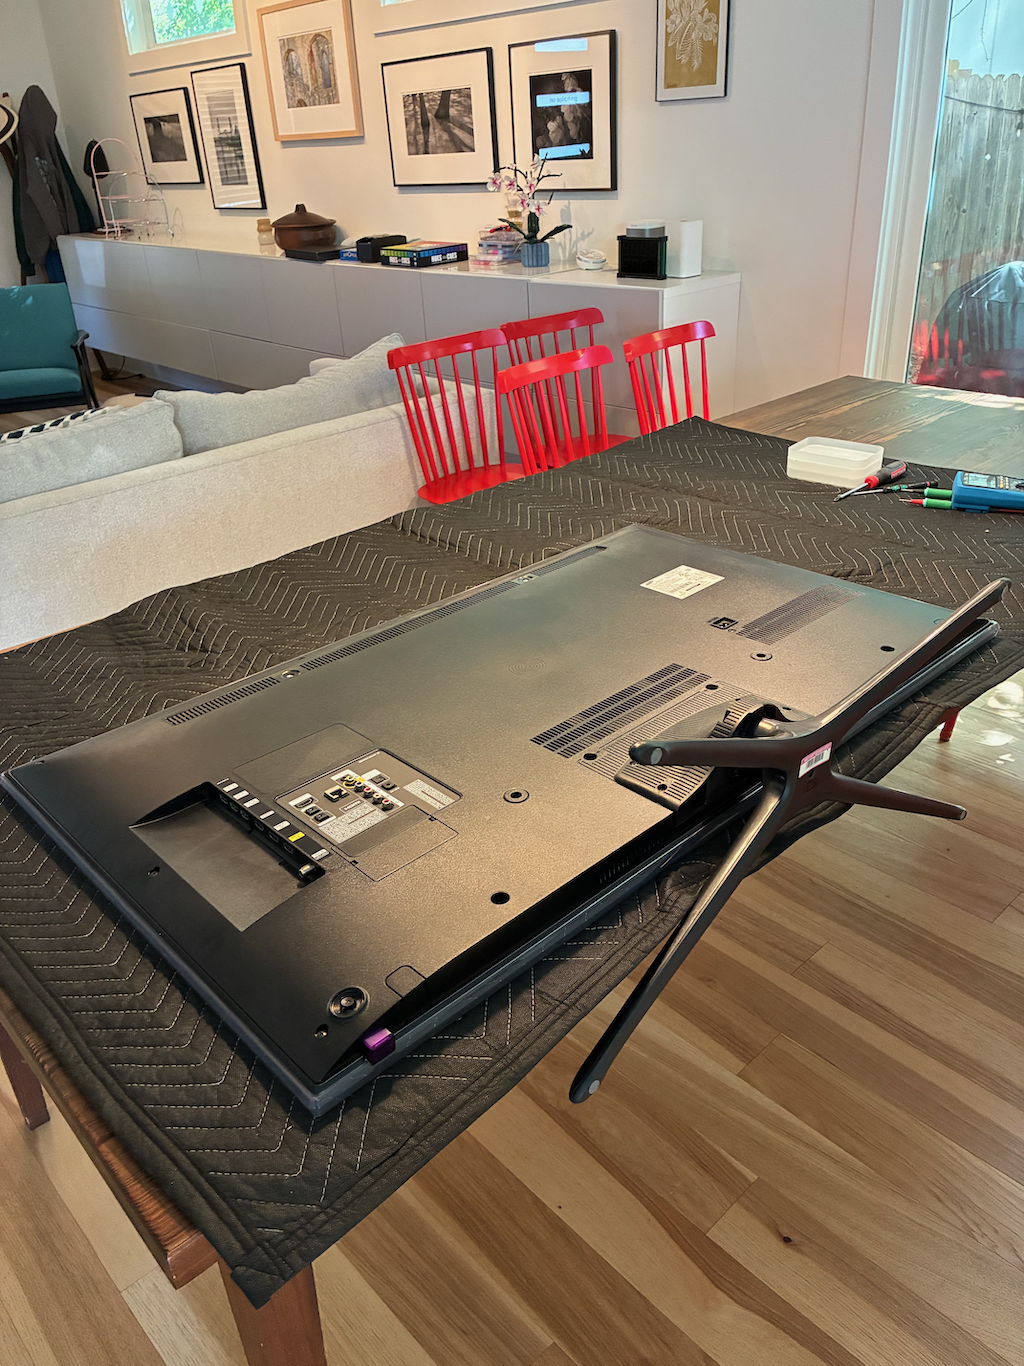
I knew there would be an upsetting number of screws, so for each component I put the screws in a little tray as I removed them, then put each set in a labeled bag. I realize this is excessive but it prevents dumb mistakes.
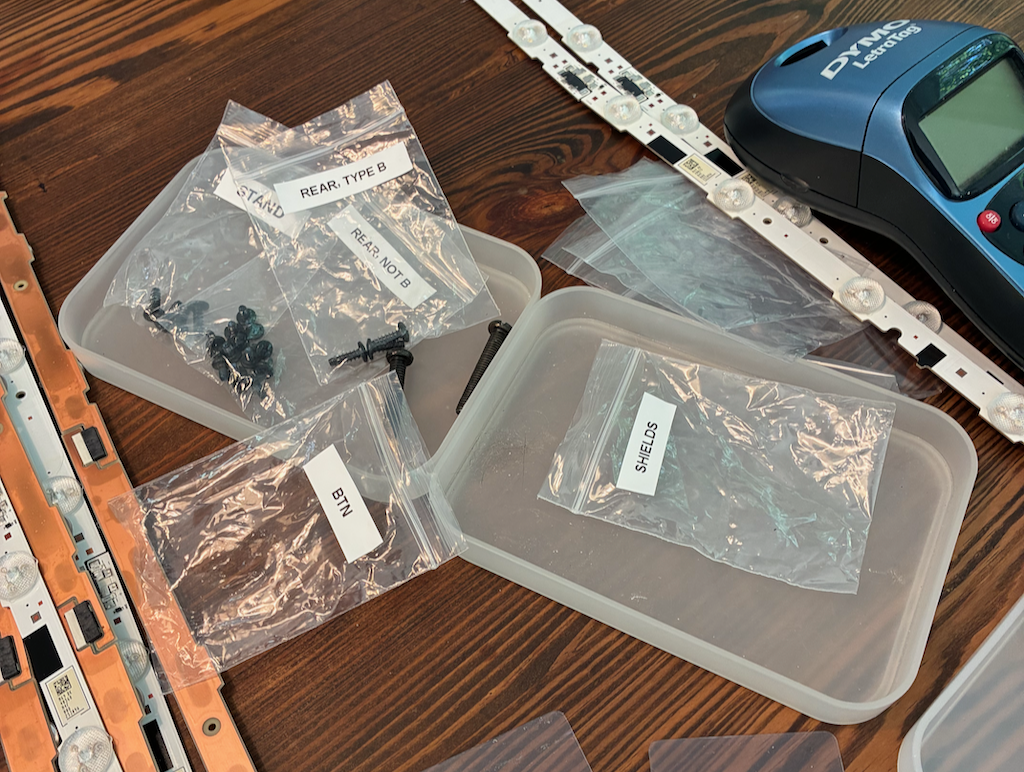
Back Cover and Speakers
For this particular model, after removing the stand there are a bunch of identical short screws, and three longer screws labeled “B”. Every visible screw needs to come out. There is a little door under the IO ports that hides a connector. This needs to be unclipped (squeeze and wiggle). After that the back comes off in one piece.
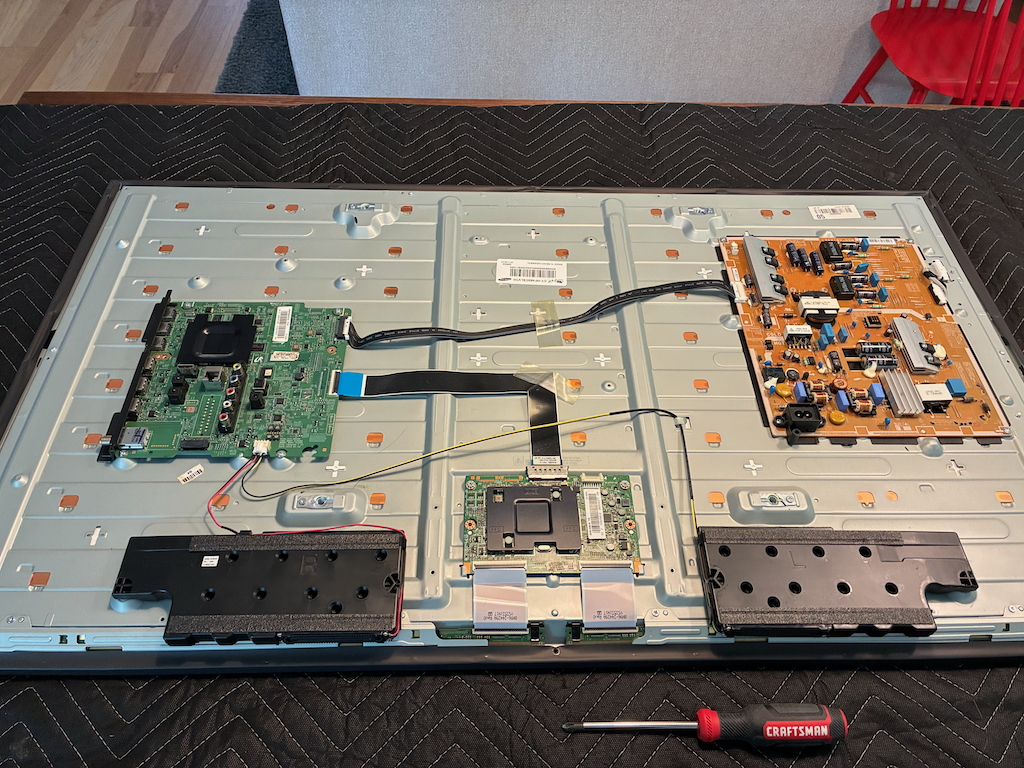
The speakers need to come out next (they’re not screwed in so they will cause problems later if we don’t set them aside.) The just lift out and the cable unclips (raise the center tab).
Front Bezel and Shields
The outer bezel is wrapped with foil blackout tape that needs to be detached. I was able to fold the tape up and pop front bezel off without removing the tape. I was worried that this would make reassambly harder but it ended up being fine. The tape is stiff and stays where you put it.
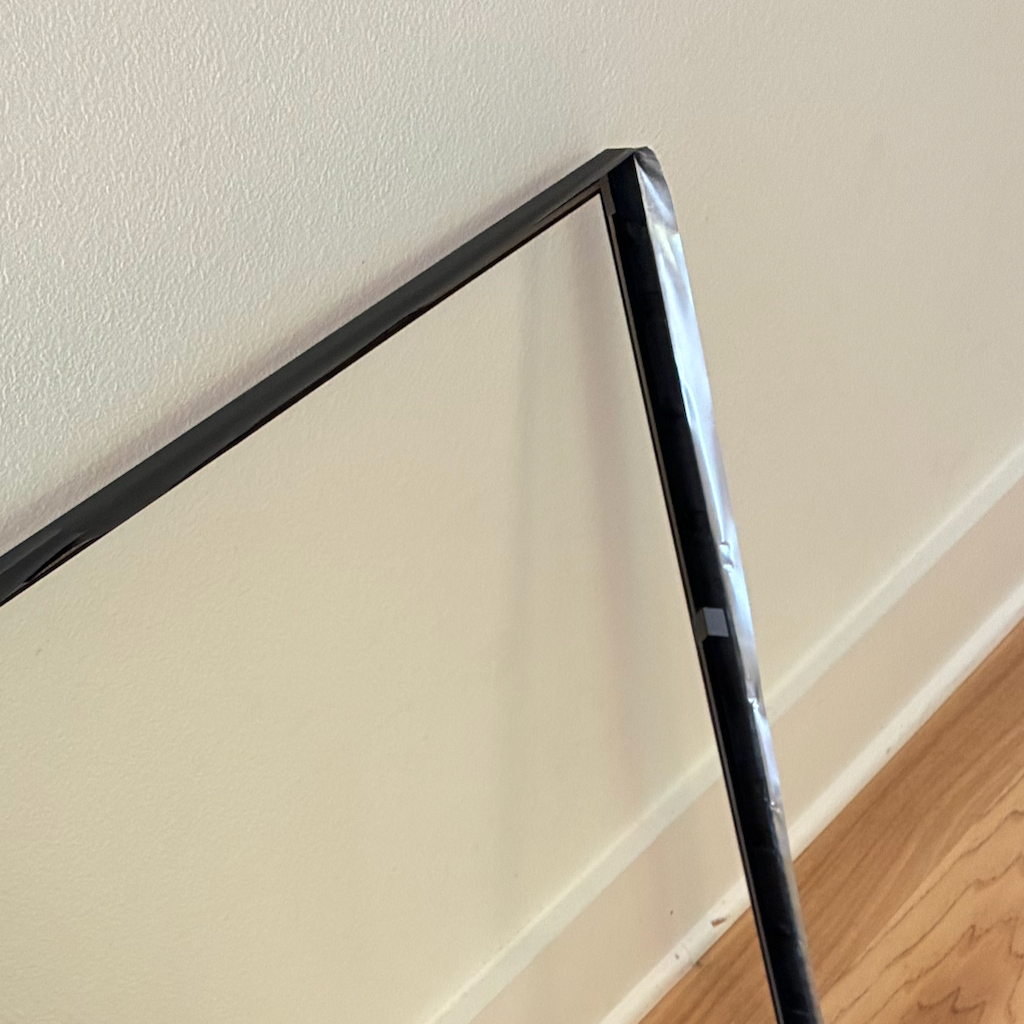
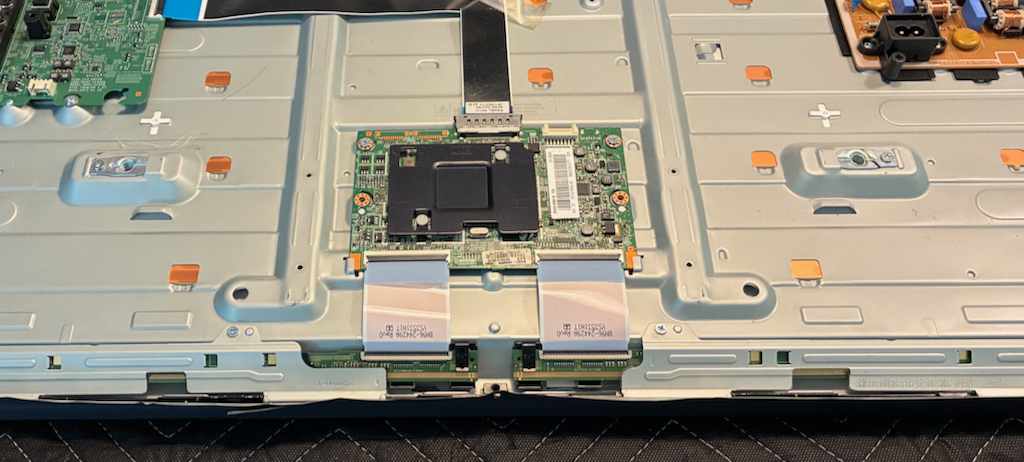
With the front bezel off, I was able to remove the shields covering the long thin PCBs attached to the front glass. I also disconnected the two ribbon cables attaching these PCBs to the main video card (flip up the little black levers), thus freeing the glass from all of its electrical connections.
Flip, and Inner Bezel
At this point I flipped the TV over, glass-up. I was worried about it resting on the PCBs so I thought about attaching some long bolts to the VESA mounting lugs and resting the TV on the bolt heads, but I didn’t have any bolts the right size and decided not to worry about it.
There is an inner bezel around the front glass that needs to come out. The short edges hold down the long edges, so the short ones come out first. I used an iFixit Jimmy to pry the plastic tabs back until I could pop the bezel piece off. This releases the long edges, which are eaier to remove. I neglected to take photos of this process.
It’s worth noting that the front glass is now just resting in the chassis and will fall out if you decide to flip the TV back over for some reason.
Securing the Long PCBs
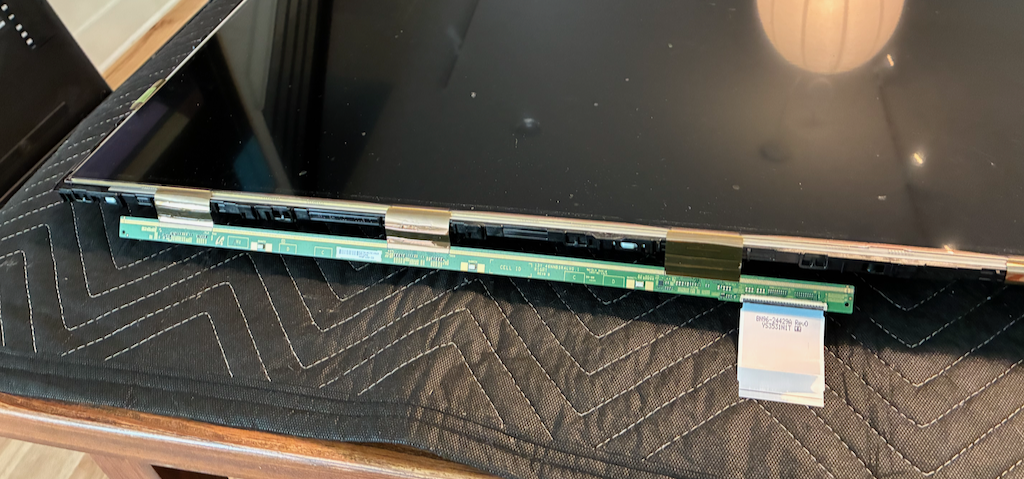
With the inner bezel removed, I wiggled the long PCBs out of their retaining clips, flipped them up onto the glass, and secured them with painter’s tape. These PCBs are permanently attached to the front glass and everthing about this setup is very delicate (a torn cable means a new TV).
Removing the Glass
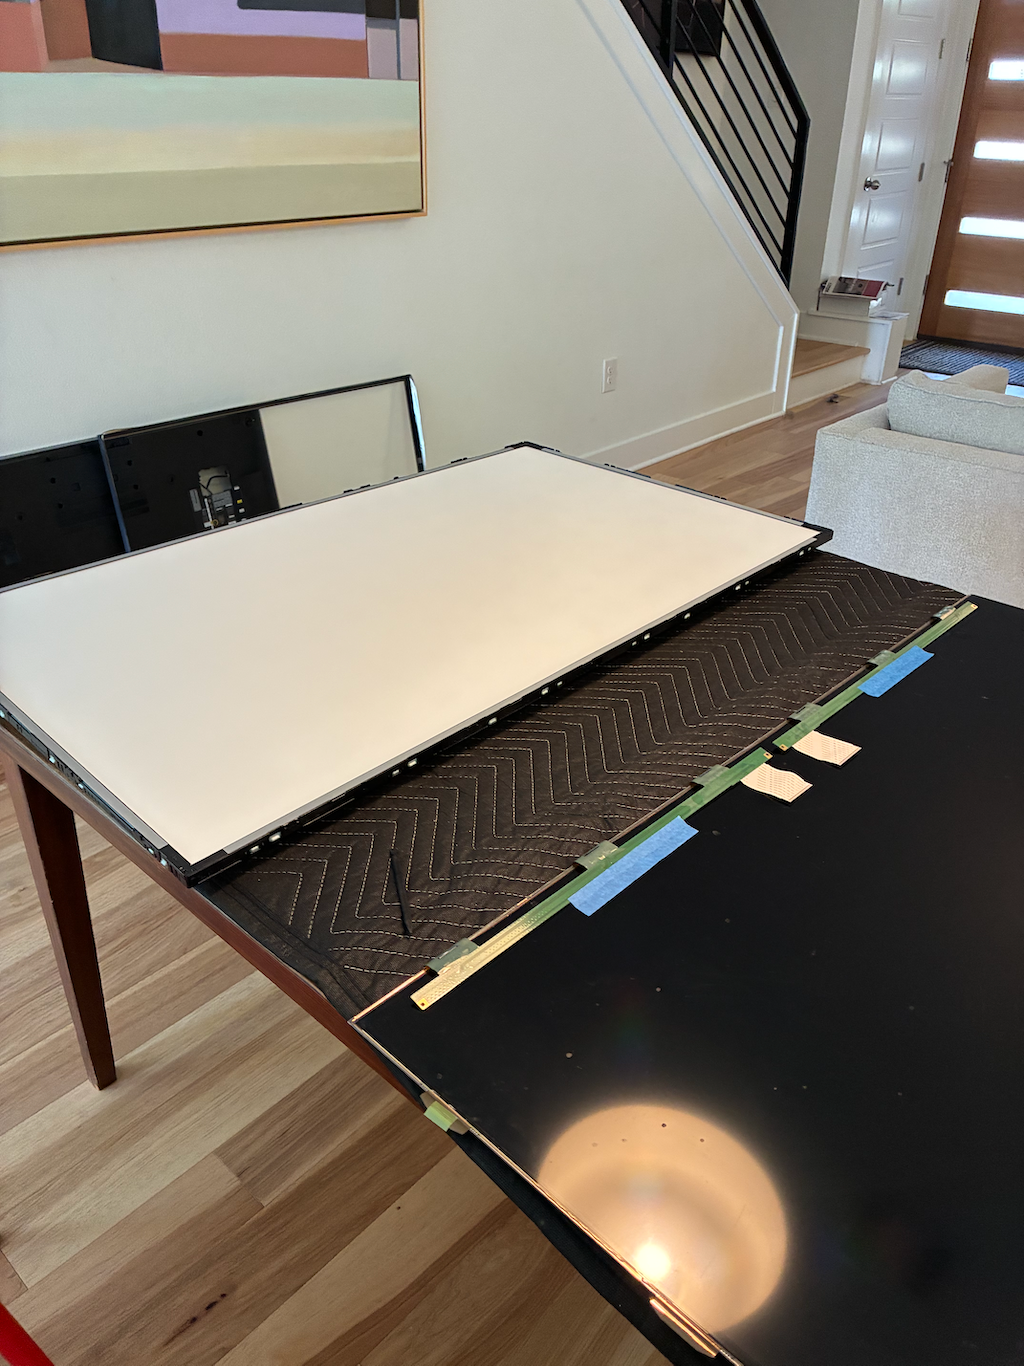
At this point the front glass was free. There are some unused flat-flex connector tabs on the sides that Joanna and I used to ease the glass up enough to get hands underneath, then carefully moved it to the side. The glass is bendy up to a point and then you need a new TV, so this is absolutely a 2-person job.
Diffuser and Reflector
Under the glass is a multi-layer diffuser that I removed all at once and stacked on top of the glass. I put some dish towels in between just in case, but I think this probably wasn’t necessary.
The diffusion layer rests on some transparent plastic points that also secure the reflector. These rotate 90° and pop out. I had to use pliers for a few of these.
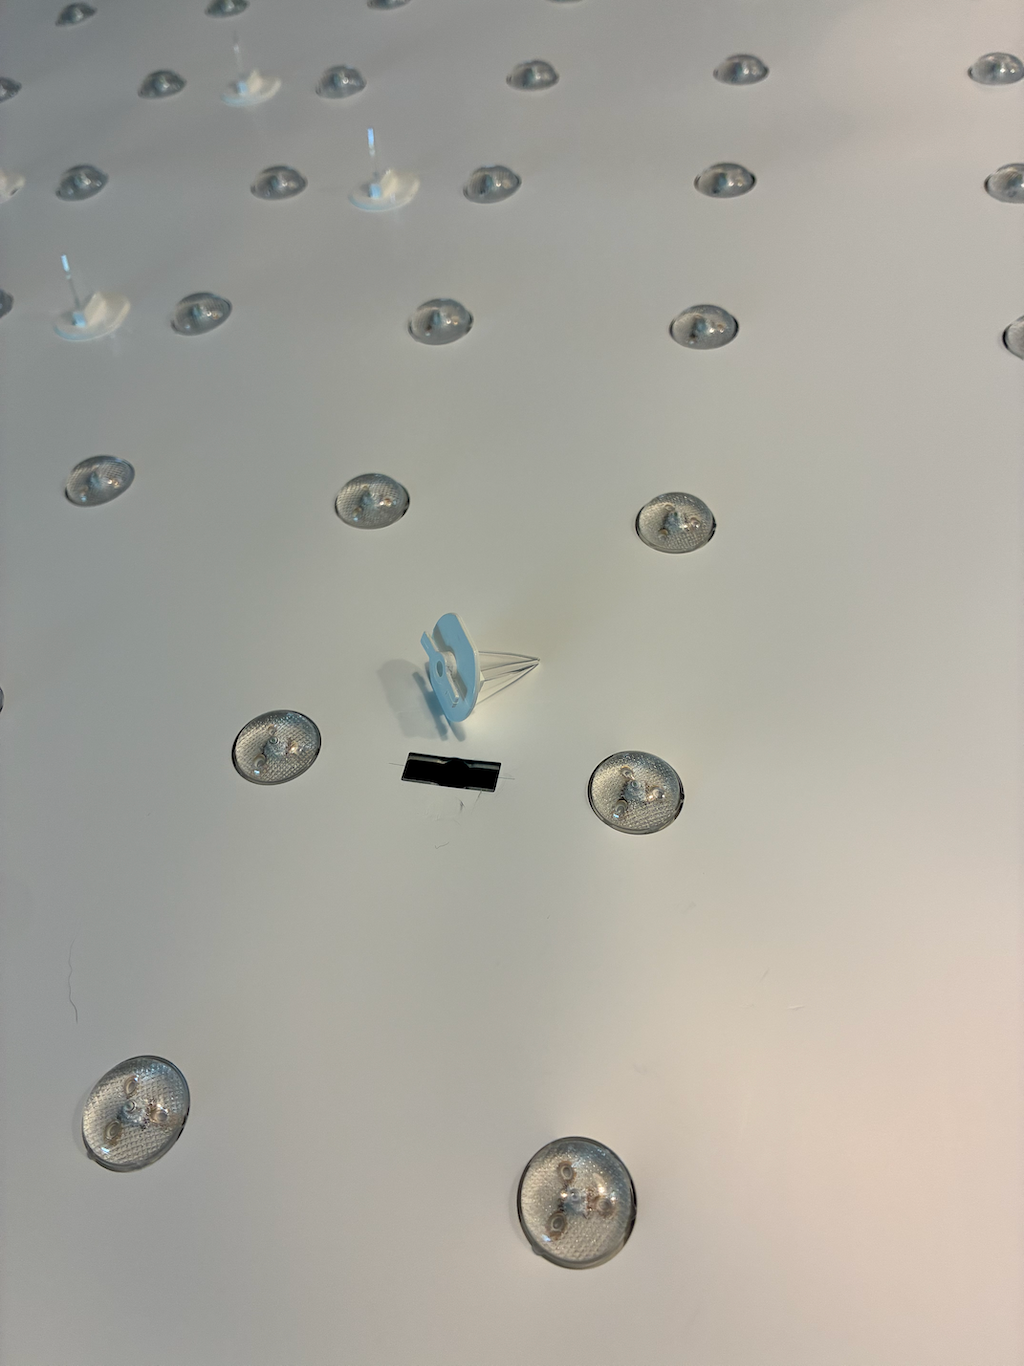
With the points removed, the reflector layer peels out with a bit of effort (the holes catch on the LED lenses because they’re exactly the same size).
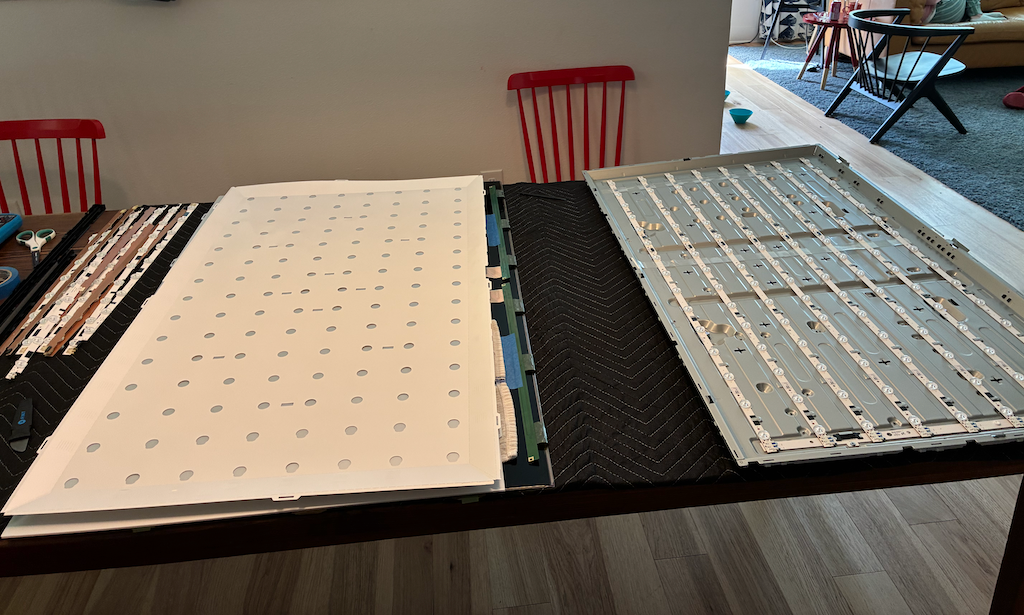
Replacing the LEDs
At long last the LED strips were exposed, so I plugged the power and rear-panel switch back into the TV and powered it on (dangervolt warning, etc.). And indeed, half of the LEDs were out.
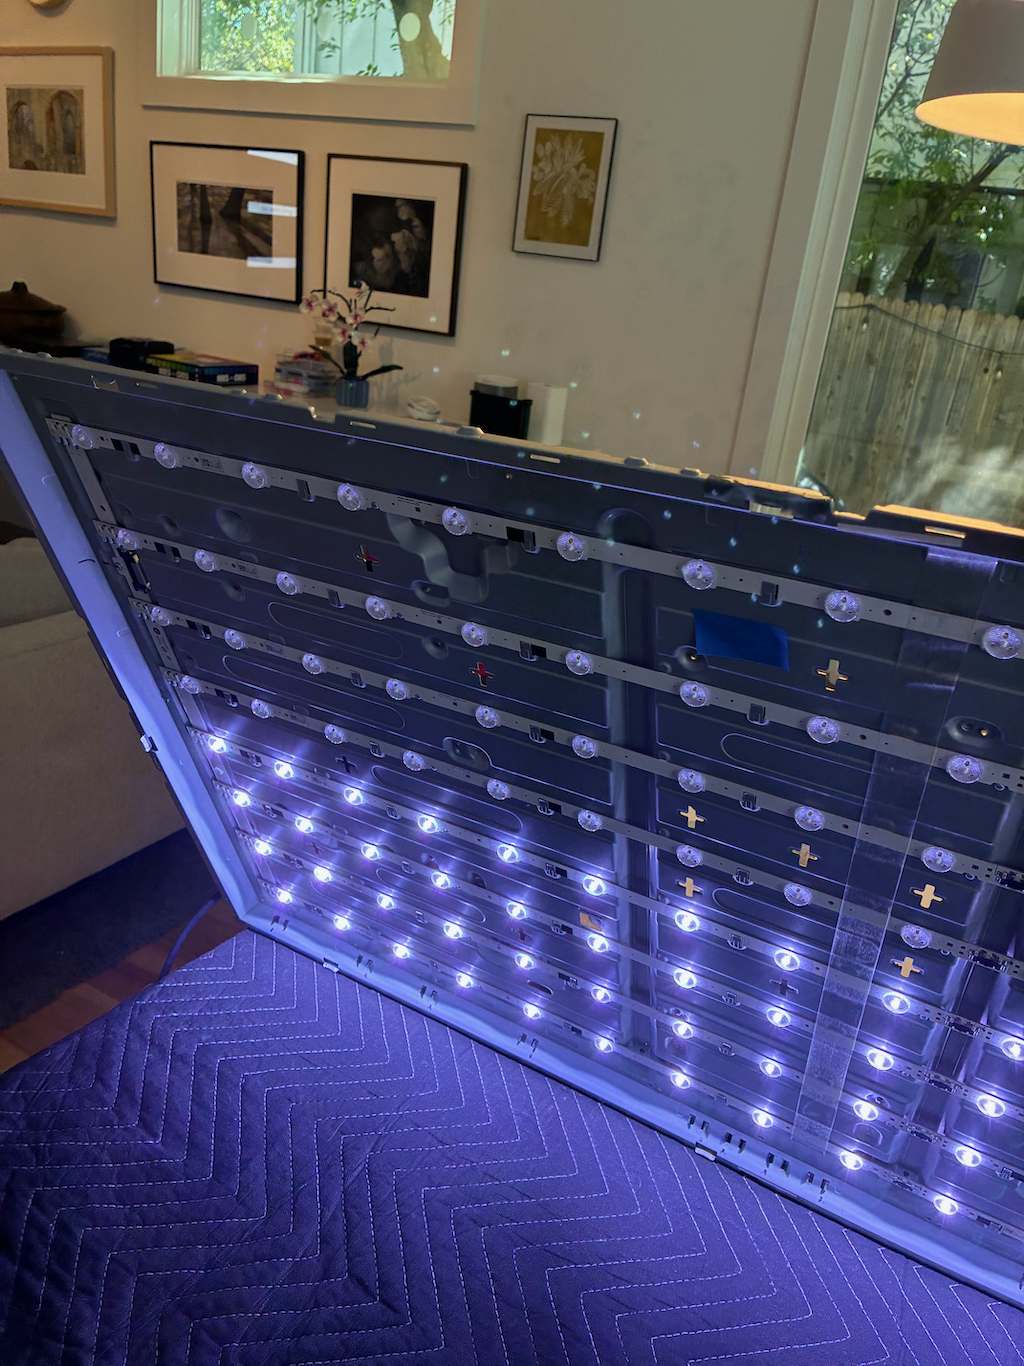
Beeping around with my meter it looked like two rows in series, four times in parallel; i.e., you can’t ever have one dead row, you always get two. There was a charred SMD part on one of the dead rows, so I replaced that row and the top two rows started working again. I couldn’t see anything wrong with the other dead pair, so I just swapped out one at random and that didn’t work, so I tried with its partner and that fixed it. All working now.
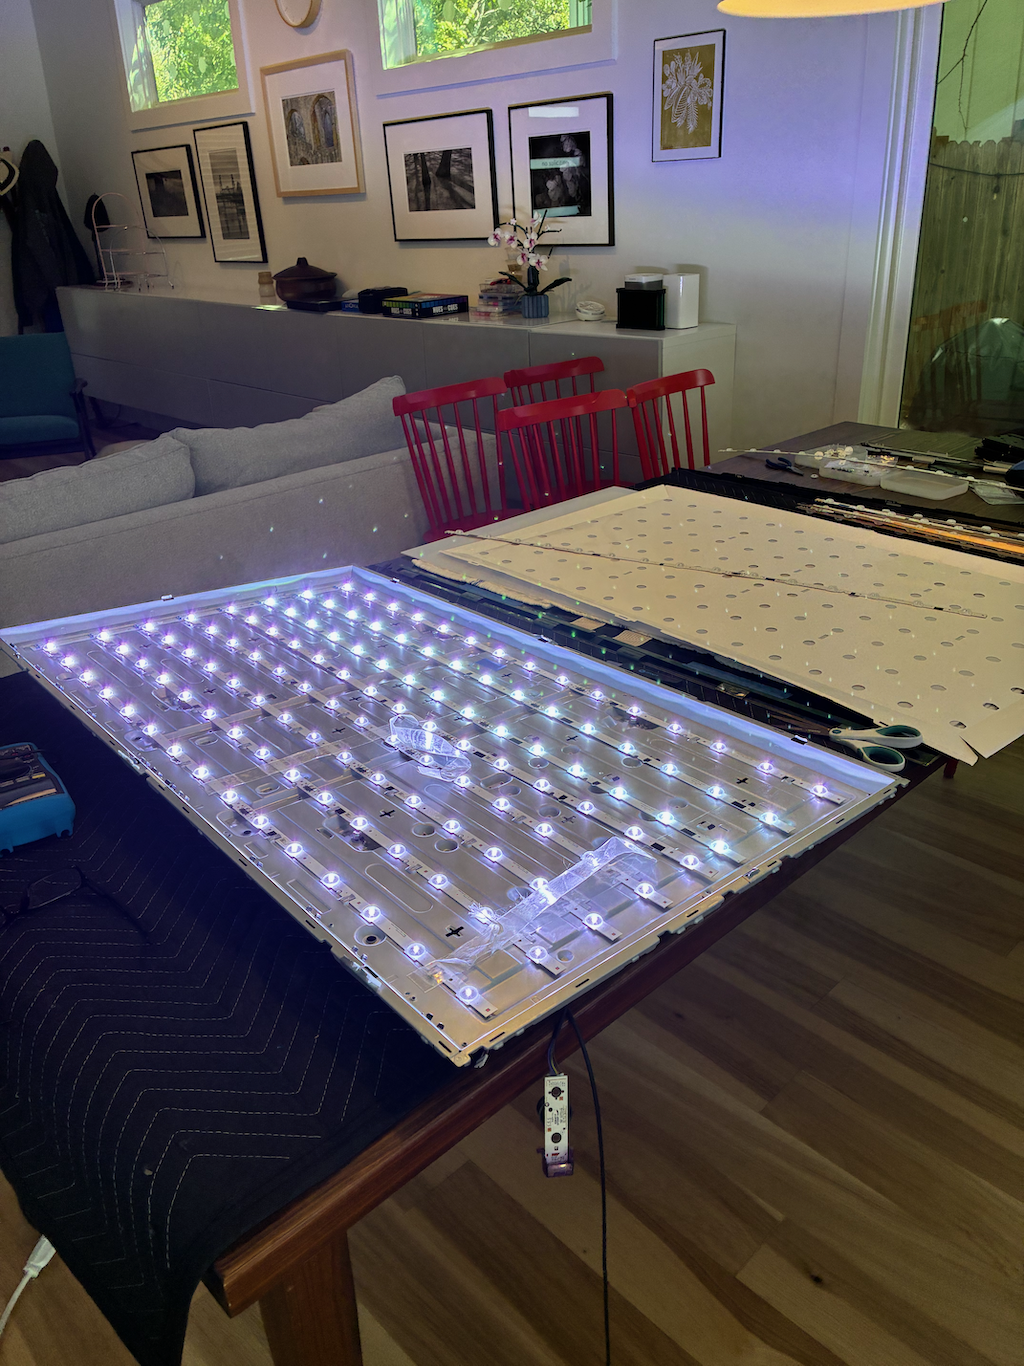
It was immediately obvious that my AliExpress replacement LEDs were much bluer than the originals, so I went ahead and swapped them all out. I can adjust the gamma correction on the TV if it becomes annoying but so far I can’t really see any difference.
Done!
And with that done it was just a matter of doing all the same things in reverse. The total repair took about three hourse, but a lot of that was trying to figure out what to do next. In the end this was an easy repair, but you definitely need a big work area, a helper, and some patience.